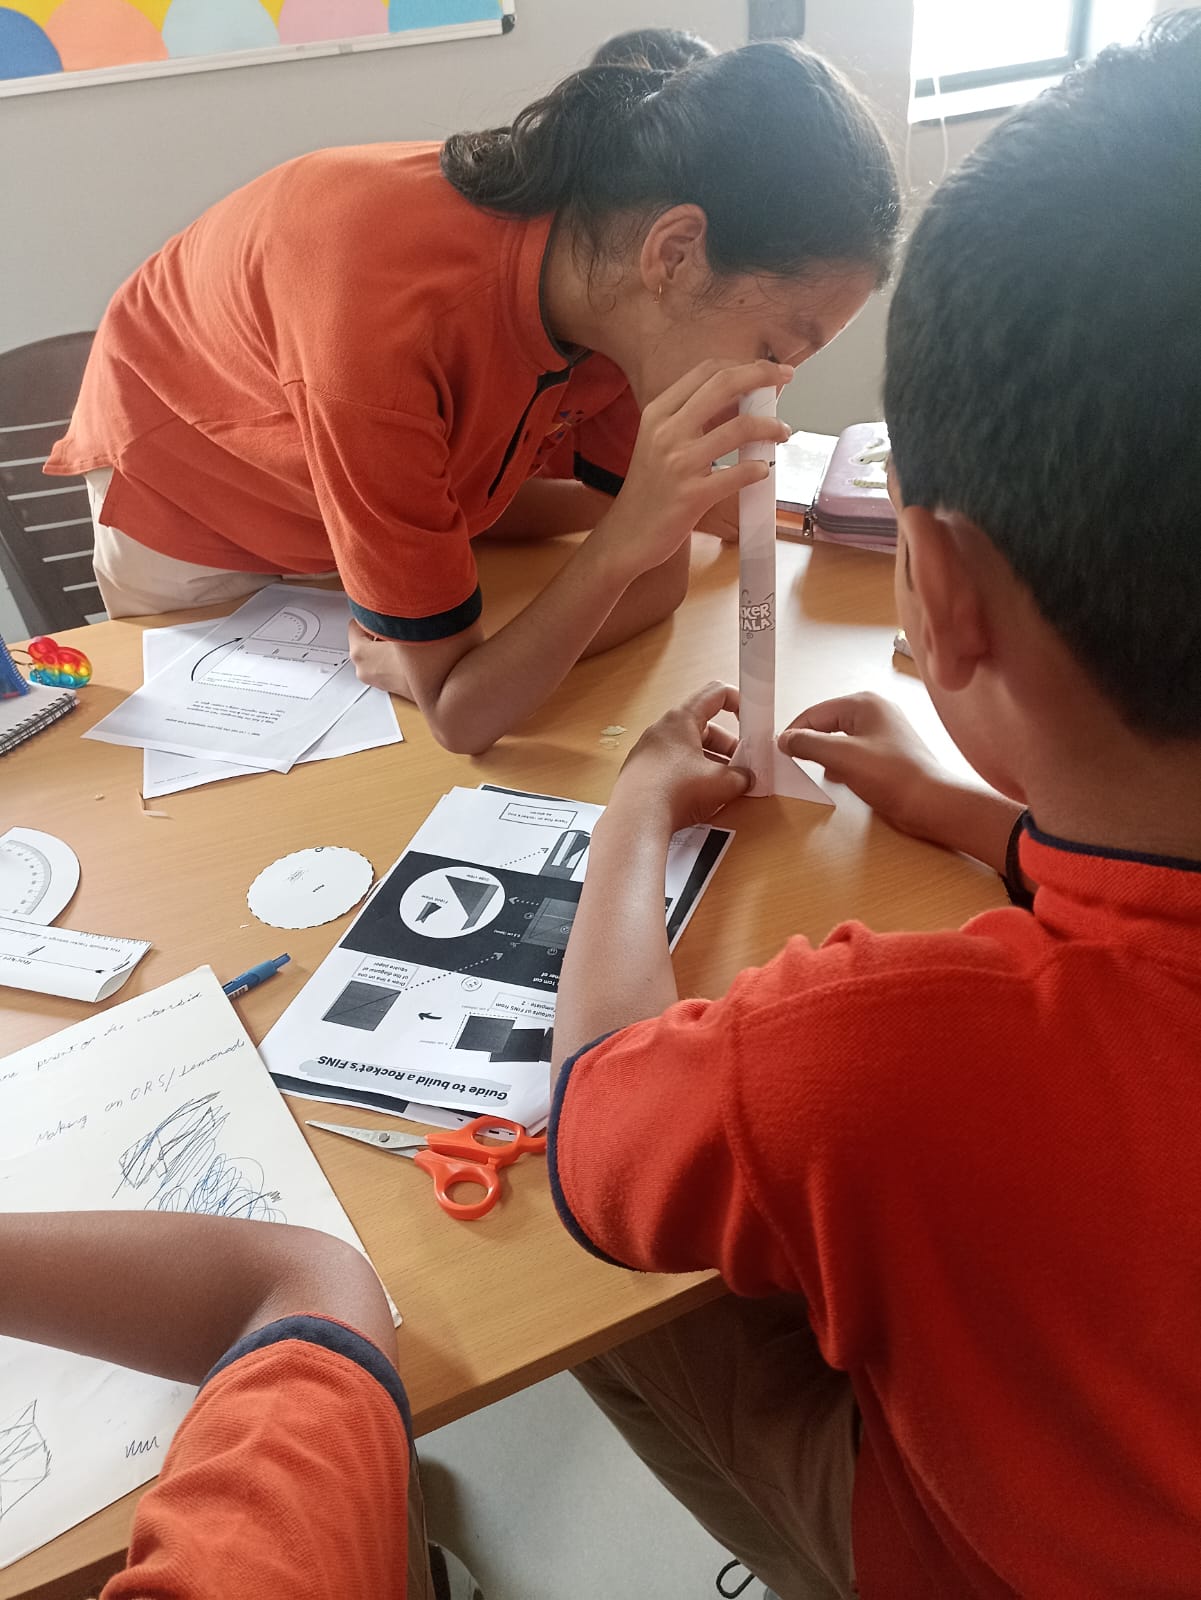
In this project we learnt how to make a rocket and what are the parts of the rocket. This project was very interesting to make. My experience very very good Our team's name was Bolts. This project plays an important role todays times. As it is well known that space exploration and education plays an immense role in the developement of a country. Our teacher has helped us make such projects and always supported us for the same. Space exploration and education is an important key factor every person shall always know. We the students of Grade 7 have had a spectaculor time in creating and implemeting this project. We did not use any complex machinery for the working of this project, we only used air pressure to launch our rockets. We used a bottle, jumped on it and the air pressure that was released, made the rocket fly. After Chandryaan's succesful landing on the moon, we as Indian thought of this as a great opportunity to recreate and implement this in our school. Throughtout the jouney of making rockets, my teacher and Teammates have helped me. We as a class worked together, coordinated and helped each other. We made our rockets with recycled paper. We used the paper to make the body, nose cone and fins. To deal with more realistic Situations we used a software known as Open Rocket Simluator. This software helps us to identify how each rocket shape, size, weight and height differ in the flight, landing and time in air of the rocket. The steps used to make this project are:
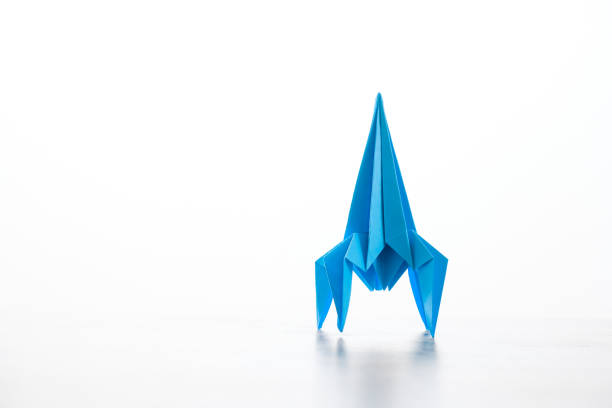
- Making a Paper rocket: We used recycled paper in order to make rockets. We made the nose cone and fins as well. We sealed them together with tape.
- Making a Launch station: We used PVC pipes to make the launching station. We used connecters in order to make them stay put.
- Launch Process: We used a recycled bottle to exert air pressure and achieve the rockets flight.
- Analysing the flight: We had 2 atitude check stations on either side of the rocket at 20 feet. We used the rocket altitude tracker and analysed the rough average of the flight obtained. We then used the mathematical operations of trignometery to achieve the exact height of the rocket.
- Use of trigonometry for height calculation: As there were two analysis stations, we used trignometery. We took either sides analysis and drew staright lines until their point of meet. We took a graph sheet in which 1 box= 2 feet; For example: if their point of meet is 25 blocks above from the launching station, the height obtained by the rocket would be 50 feet.
- Open Rocket Simulator: We used this software to deal with more realistic situations like the effect of weight on the rocket, The effect of different nose cones, body types and fins on the rocket. This software gives us the independence of using real life situations and conditions and also helps us to know about the forces acting on the rocket.
- Centre of Pressure and Centre of Gravity: These are two key factors that are needed to be balanced. The point where all the pressure is assumed to be in a rocket is known as Centre of Gravity. Whereas the point where all the mass of the rocket where it can be balanced is known as Centre of Gravity.
- Payloads : A payload generally refers to the part of a data transmission or message that contains the actual data that needs to be communicated or processed. In various contexts, the term "payload" can have different meanings
- Testing of Rocket flight using payloads: We have attached a coin of rs. 2 as a payload in out paper rocket and tested it's flight. It was stable and has gone up to a 40 feet.
- Swing Test: We have also fone a swing test to test the stability of the rocket by using a thread.


